

Ben’s out of town in Scotland this week, so I’ve been left to my own devices. Normally I would just veg out on the sofa and enjoy being the sole controller of the remote. But this week I felt like being productive! Doing things! Checking things off my list! Which then all boiled down to baking again this week. I mean, it’s still a bit predictable, but certainly better than TV watching.
Since I was baking in the evening after work, I needed something relatively quick and simple. When perusing through some of the Pins I’d saved on Pinterest, I was immediately drawn to this recipe from Jaclyn at Cooking Classy: Lemon Poppy Seed Bread. My mouth literally began to water. And although my wedding diet certainly doesn’t allow for cake (especially after a few days of cheating over the weekend – grrrr!) I do know that I love lemon and poppyseed together, combined with poppies being on the brain from our volunteering at the Tower of London over the weekend, and the fact that it’s bread week on GBBO: I was sold.
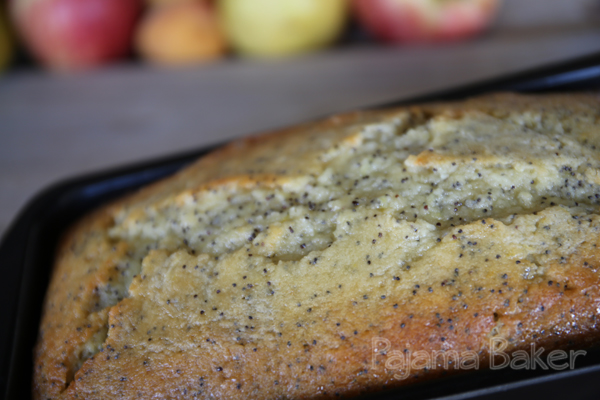
I will say, bread is a bit of a misnomer for this bake, as it’s not really a bread at all. It’s actually a loaf-shaped cake, but it’s denser like bread, so it slices beautifully. So it’s a sweet, cake-like loaf of bread. It’s all semantics anyways.
Ingredients
For the bread/cake:
- 1 2/3 cup flour
- 2 Tablespoons poppy seeds
- 1 teaspoon baking powder
- 1/2 teaspoon salt
- 1 cup sugar
- 2 Tablespoons fresh lemon zest
- 1/2 cup (113 grams) butter, room temperature
- 1/2 teaspoon vanilla extract
- 1/4 cup + 2 Tablespoons sour cream
- 1/4 cup milk
- 2 Tablespoons fresh lemon juice
- 1/4 cup sugar
- 3 Tablespoons fresh lemon juice
Directions
1. Preheat oven to 350° F (approx 175°C). Grease a loaf pan and set aside.
2. In a medium bowl, combine your flour, poppy seeds, baking powder, and salt. Mix them together well so that everything’s evenly distributed, then set aside.
3. In the bowl of your mixer, rub together the sugar and lemon zest until your sugar starts to turn a nice, pale yellow. (By the way, don’t try and work with fresh lemon juice and lemon zest with cuts on your fingers. It stings. A lot.) Add in your softened butter and vanilla, then turn your mixer on and blend together until everything turns nice and fluffy. Once fluffy, add in your eggs one at a time, scraping down the sides of the bowl in between each egg.
4. In a pyrex jug, mix together the milk and sour cream. Then gently heat it in the microwave for a few seconds until they are just slightly warm. Make sure it’s all blended together well!
5. Now, using the “muffin method” – add in your flour mixture and your milk mixture. Alternate adding each mix by adding 1/3 of the flour mixture, followed by half of the milk mixture, followed by 1 Tablespoon of your fresh lemon juice, mixing until they are just barely combined, then repeating until you’ve used everything up. Make sure you finish with adding the final 1/3 of the flour mixture. (So – flour, milk, lemon, flour, milk, lemon, flour – got it?)
6. Pour your batter into your prepared loaf tin and pop it in the oven for 40 minutes. After that time, cover the top with foil (not letting it touch the loaf) and let it bake for another 5-10 minutes, until a cake tester comes out clean.
7. Once it’s finished, take your loaf out to cool in the pan for 5 minutes (ONLY 5 MINUTES!), then turn it out onto a wire rack. Then prepare your lemon glaze by microwaving the sugar and lemon juice in a small bowl for short bursts at a time. Whisk frequently to make sure you don’t burn the sugar. Once everything’s dissolved, you’re ready!
8. Using a pastry brush, gently brush the glaze over the top of your loaf. It makes it incredibly moist, as it soaks into the loaf. Plus, it’s all pretty and shiny just after you glaze it. Take your time with this step, as you want to use ALL of the glaze. Let it soak in, then reapply gradually through several coats.
 Once it’s ready, you can slice up your loafcake and serve it up. Just make sure to store it in an airtight container. I took mine into work the next day, so once it was completely cooled and the glaze was set, I popped it back into the tin to make for a nice presentation (and to make sure it didn’t get crushed during rush hour on the Tube!).
Well, I’m off to Edinburgh for the weekend to meet up with Ben after his week away. I will see you next week to share our adventures, bakers!

