It’s been a busy couple of months leading up to the wedding, so I had to disappear for a few weeks to make sure that everything got done before Ben and I flew over to the US for our big day. On October 10th, Ben and I had the most fabulous day and we couldn’t be happier with how everything went. I’ll admit, I was a bit nervous about how everything was going to come together and if I would have enough time to get everything done in time, but it all did!!
The theme for our wedding reception was what I guess what we could describe as a “London Bakery” – we had a lot of details throughout the day that represented both the US and the UK, but we had to include baking as (let’s face it) there’s a lot of it going on in our house! I wanted to share with you all some of the more Pajama Baker details and behind the scenes.
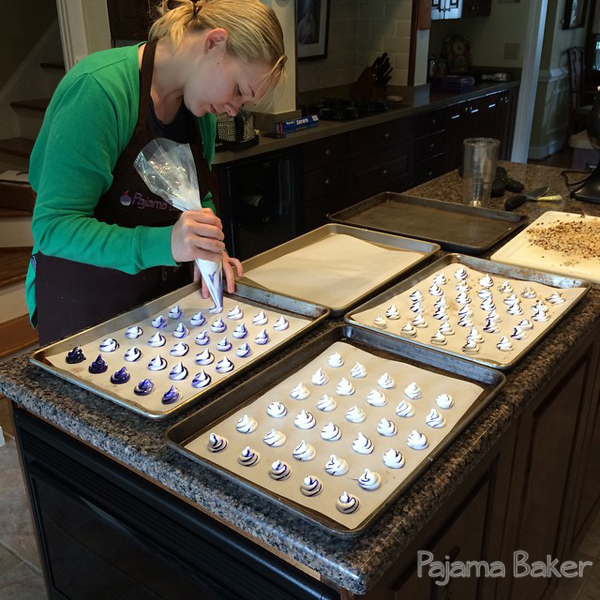
I made all of the favors the week before: 600 meringues in 5 different flavours. We had chocolate, hazelnut, peppermint, lemon, and raspberry.
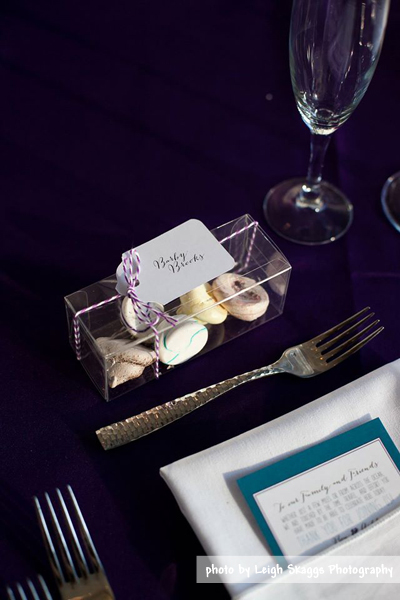
The favors also served as placecards for our guests.
(photo by Leigh Skaggs Photography)
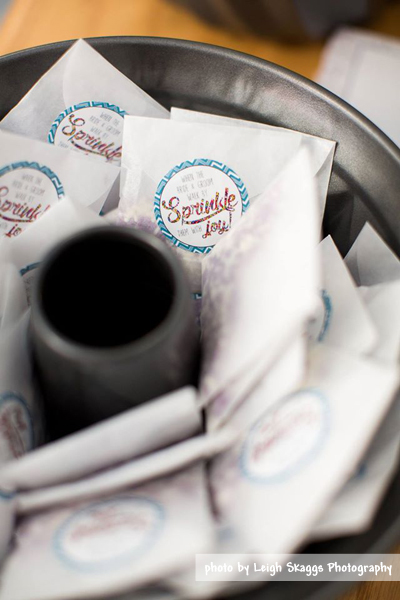
After the ceremony, we had bags of purple and white sprinkles for people to toss instead of confetti or flower petals.
(photo by Leigh Skaggs Photography)

The sprinkles made for some fantastic photos! We had fun and couldn’t stop laughing as people threw them at us.
(photo by Leigh Skaggs Photography)
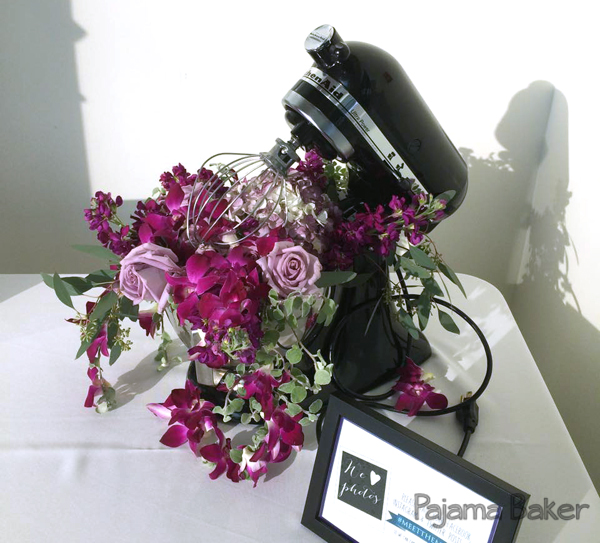
We had some really cool floral arrangements that our florist had a ton of fun with. Each table arrangement was in a bundt pan, and we had a big centerpiece as you walked into the reception in a KitchenAid mixer!
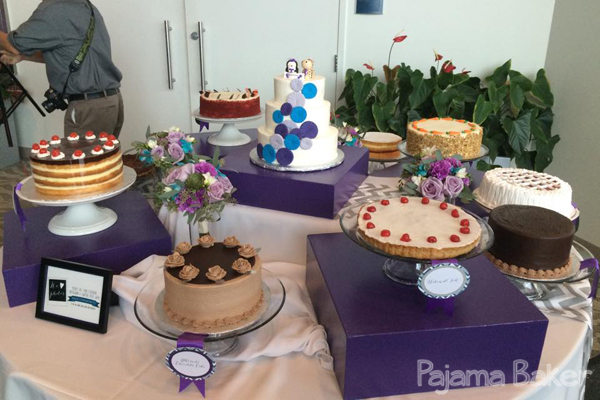
Being a baker, I couldn’t settle on one cake, so we had a buffet of TEN plus our 3-tiered wedding cake, making a total of 13 different types of cake!
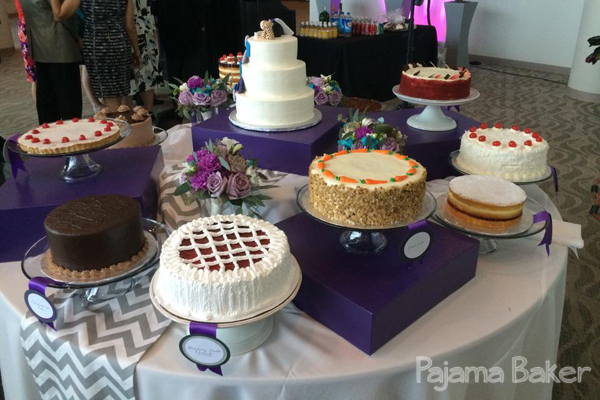
The cakes were a mix of US and UK cakes made by two local bakeries, but two of them were homemade using Pajama Baker recipes.
The two homemade cakes were my Mom’s Pecan Pie and the Cherry Bakewell Tart. They were two of the first cakes to completely disappear! 🙂
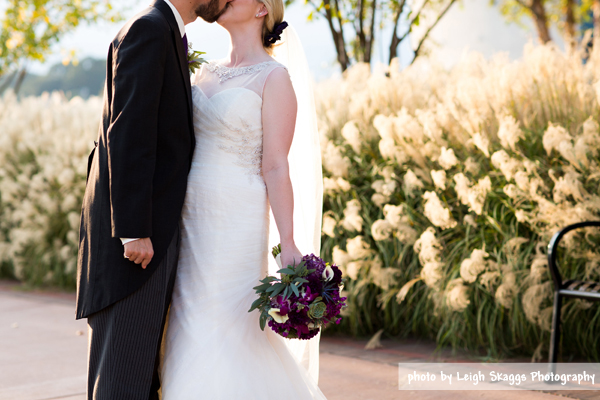
photo by Leigh Skaggs Photography
Like I said, Ben and I had the most amazing day and we had a lot of fun planning it, even from across the Atlantic. Now we’re back in the UK and settling back into our normal life. It’s kind of nice not having to spend all our free time designing tableplans or planning timelines. We’re looking forward to this new chapter in our lives together (and a whole new chapter for the Pajama Baker!).
Now it’s time to get back to baking, and catching up on some posting from a ton of bakes before the wedding, so keep checking back!
—-
(Special thanks in this post goes to Leigh Skaggs Photography for her amazing talent at capturing our day down to the last details.)