So apparently the UK has the same reaction to snowfall as my hometown: panic and everything shut down. While I will admit, it was snowing pretty hard on Friday, it wasn’t really the doomsday blizzard that everyone had predicted to strike. But due to trains not really being able to run, I was allowed to leave work early before the trains stopped and work from home in the afternoon.
Shortly after lunch on Friday, I slipped and slid my way to the Tube station to make my way home. (I had worn the worst possible boots for ice – they had no grip whatsoever.) As I smiled to myself for having the survived my icy trek without my butt meeting the pavement, I stepped onto the escalator to begin my descent to the train platform.
And that’s when disaster struck. Suddenly I found myself rapidly descending, arms flailing and legs arching up over my head, only to come crashing down onto the escalator step. I quickly untangled myself and returned to a full and upright position, really only feeling the pain to my pride more than anything.
I guess I hit the ground a lot harder than I thought, because Saturday came and I was in absolute pain. After a trip to the store where I hobbled around, unable to venture away from my shopping cart, I was relegated to the sofa for the next 24 hours. And the pain wasn’t the worst of it – mostly I just got BORED. I can’t sit still that long! Plus, Ben insisted I needed to stay horizontal, and so he began waiting on me hand and foot – another insult added to injury, because even though I like to be waited on every now and then, there comes a point where it’s just silly.
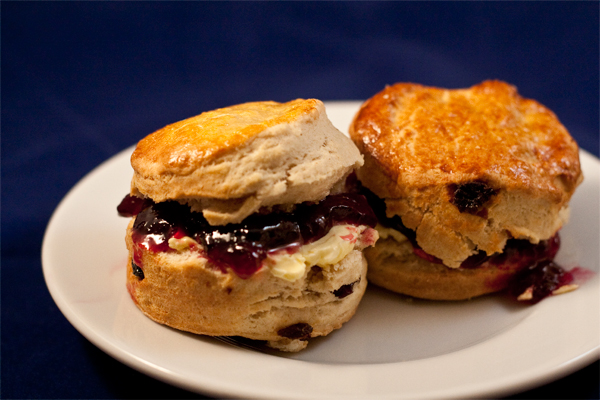
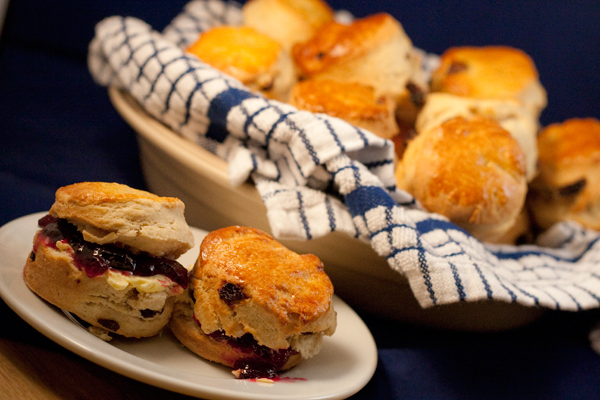
So this afternoon I decided to attempt scones. They’re simple enough and didn’t require a whole lot of hand-kneading, so I just used my mixer for everything and I managed to get away with standing for about an hour or so before I gave in and laid back down on the sofa. But at least this time when I returned to my seat, I had warm scones and jam to keep me company.
This recipe also come’s from Paul Hollywood’s 100 Great Breads.
Ingredients
- 4 cups bread flour
- 2 eggs beaten, plus 1 egg beaten for an eggwash
- 1/3 cup sugar
- 1 1/2 Tablespoons baking powder
- 188 grams unsalted butter, softened
- 1 cup milk
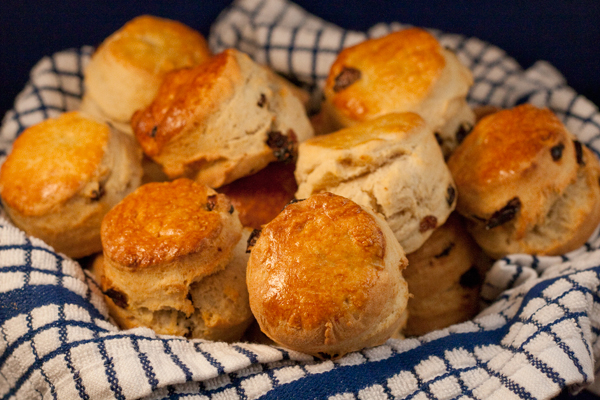
- 1/2 cup raisins
Directions
1. Preheat your oven to 425°F (220°C). Line a baking sheet with some parchment and set aside.
2. In the bowl of your mixer using the paddle attachment, mix together the flour, 2 eggs, sugar, baking powder, butter, and milk. Beat them for about 2 minutes on slow speed until the dough comes together.
3. Tip the dough out onto a lightly floured countertop, and gently knead in the raisins – just enough to incorporate them into the dough. Then use your rolling pin to roll the dough out until it’s about 2 inches thick. Then using a round biscuit cutter, cut out the biscuits and place them onto your prepared baking sheet.
4. Brush your eggwash over the top of each biscuit. Then chill them in the fridge for 30 minutes – this will help them with a straight rise. Once removed from the fridge, recoat the tops of the biscuits with the eggwash.
5. Place them in the oven and bake for 15 minutes, then place on a wire rack to cool.