Key Lime Meringue Pie

KeyLimeMeringePie_LR

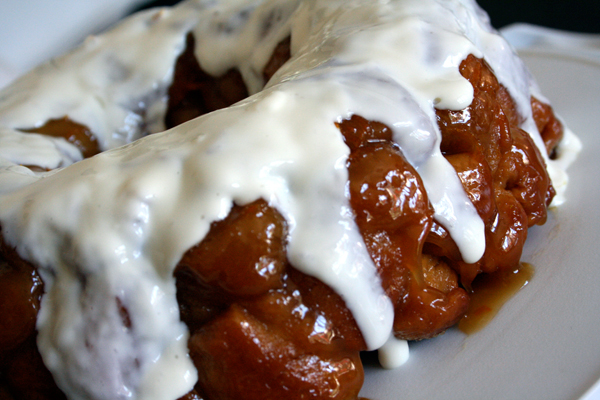
Ben is a huge fan of lemon meringue pie, my dad is a huge fan of key lime pie. So I was keen to try this recipe, a hybrid of both citrus-y pies with a pillowy mountain of meringue on top.

It was pretty simple, but I think next time I’d put a bit less meringue on top than the recipe calls for. While it looks dramatic, I don’t care as much for softer marshmallow-like meringue. I really love the cracking and crunching as you bit through it – so I would probably go a bit more traditional next time.

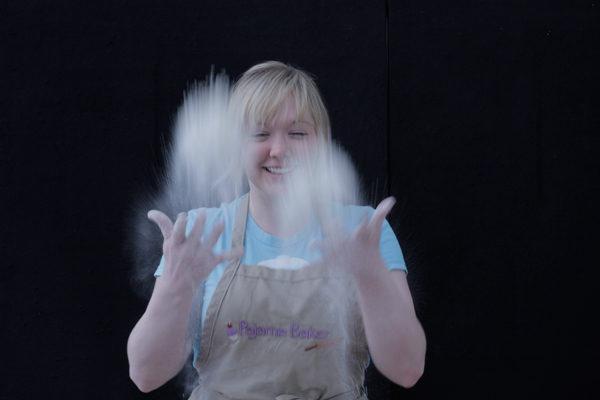
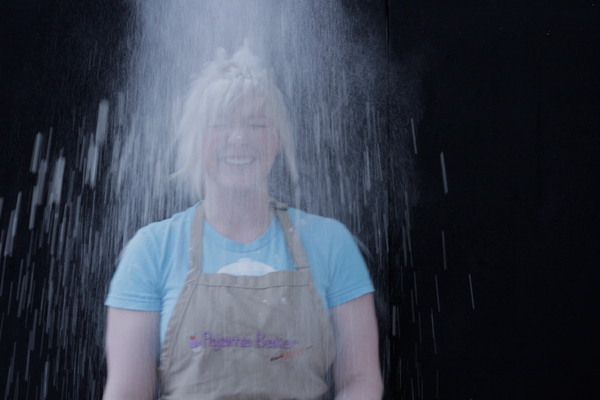
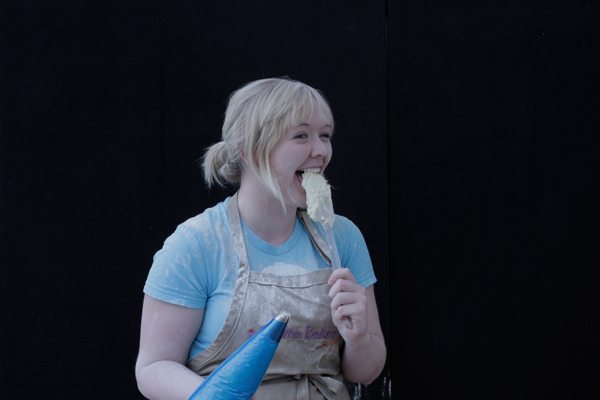
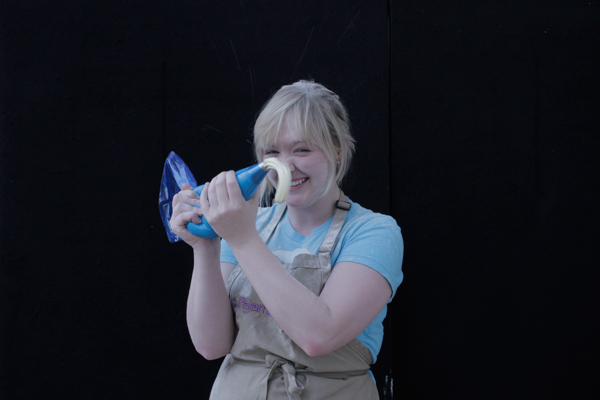
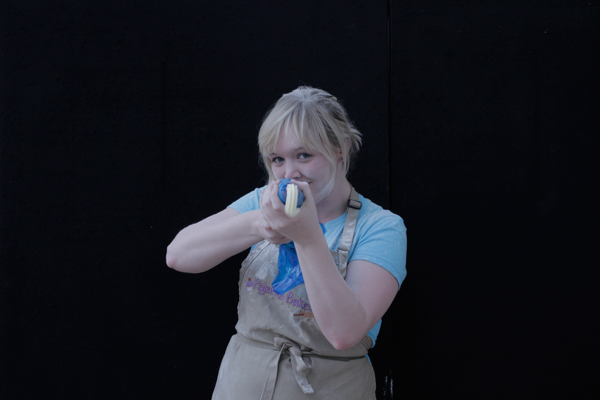
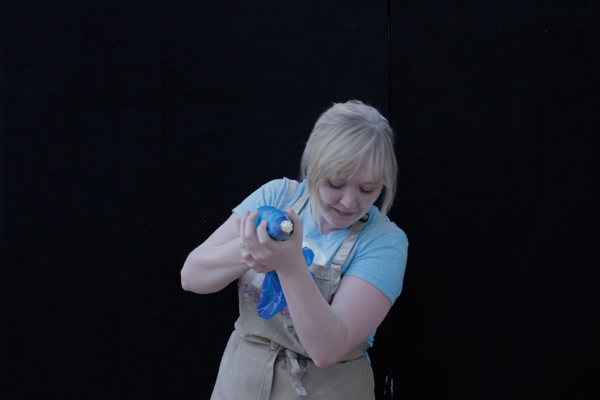
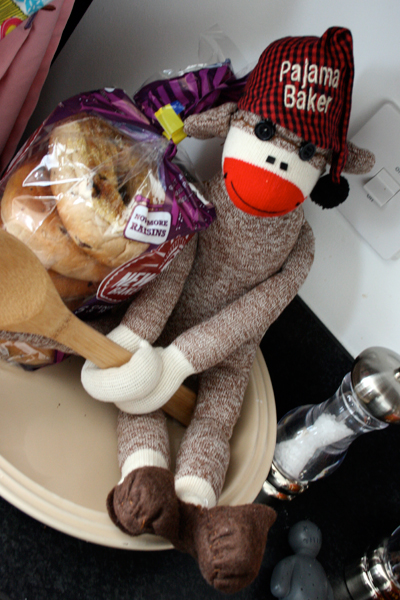
We’ve also selected my staff portrait from the photoshoot the other week. Without further ado, I present to you, the Pajama Baker!

Ashley_Funny8


Ingredients

For the crust:

  • 1 1/2 cups graham cracker crumbs (or if you’re in the UK, you can use plain digestive biscuits)
  • 6 Tablespoons (86 grams) melted unsalted butter
  • 1/3 cup sugar
  • 1 teaspoon cinnamon
  • 1/4 teaspoon salt
For the filling:
  • 8 egg yolks
  • 2 (14-oz.) cans sweetened condensed milk
  • 3/4 cup lime juice (I think I used about 6 limes for this rather than buying lime juice)
  • 2 Tablespoons lime zest
For the meringue:
  • 3 Tablespoons cold water
  • 1 1/2 Tablespoons cornstarch
  • 2/3 cup boiling water
  • 4 large egg whites
  • 1 1/2 teaspoons cream of tartar
  • 1 cup sugar
  • 1 1/2 teaspoons vanilla extract
  • 1/8 teaspoon salt

Directions

1. First make your pie crust: Preheat oven to 350°F (175°C) . Stir together ingredients; firmly press mixture on bottom and up sides of a lightly greased 9 1/2-inch deep-dish pie plate. Bake 15 minutes or until lightly browned. Transfer to a wire rack, and cool completely. (Be sure to leave your oven on, because you’ll need it at the same temperature at the next step.)

2. Next, make the filling: Whisk together egg yolks, condensed milk, lime juice, and lime zest in the bowl of your mixer. Pour the mixture into your cooled crust. Bake at 350°F (175°C) for 25 minutes or until set. Cool completely on a wire rack (about 1 hour).

3. Finally, make the meringue: Whisk the cold water into your cornstarch in a medium-sized saucepan to make a sort of paste, then whisk in the boiling water. Cook over medium heat, whisking constantly, 1 minute or until a thick gel forms. Remove from heat; cool completely (about 30 minutes).

4.  In a clean bowl, beat the egg whites and cream of tartar at medium-high speed with your mixer, using whisk attachment, until foamy. Gradually add in your sugar and continue to whisk the egg whites until they start to look glossy and stiff peaks form. Beat in vanilla and salt. Slowly beat in the cooled cornstarch mixture by pouring down the side of the bowl so that your eggs don’t lose their volume. Beat for 3 minutes to ensure that everything is incorporated.

5. Spread the meringue over the cooled pie, and bake at 375° (190°C) for 15 minutes or until the meringue turns golden brown. Transfer to wire rack, and cool completely before serving. If you’d like, you can cover and chill the pie for a few hours before serving.

Cookie Dough Brownies

CookieDoughBrownies

I came across this recipe on another blog called Brown Eyed Baker. As soon as I read it, I knew they had to be this week’s bake. Cookie dough. And brownies. No brainer.

On top of baking this week, I also had to prep for a photoshoot at work. We’re reshooting all of our staff photos, but we’re also doing a second set of photos to display in the office showcasing all of the different personalities of the team. I went with the obvious route – being a baker – and I ended up making a huge mess of the front lobby! It was so much fun, and everyone was just laughing at the mess. Here’s just a taste of the photos from the shoot, with a huge thanks to our photographer James Robertson for helping capture the final image!  I’ll unveil the final image once we select it!

_MG_5128 _MG_5132 _MG_5140 _MG_5154 _MG_5172 _MG_5191 _MG_5205 _MG_5215 _MG_5225

Now, for the recipe! The best part about the cookie dough bit is it’s egg-free, so it’s safe to eat raw. I’m seriously contemplating keeping a bowl of this on hand for “emergencies”.

Ingredients

For the  brownies:

  • 4 ounces (113 grams) unsweetened chocolate, finely chopped
  • 1 cup (230 grams) butter, room temperature
  • 2 cups brown sugar
  • 4 eggs
  • 2 teaspoons vanilla extract
  • 1 cup flour
For the cookie dough:
  • ¾ cup butter
  • ¾ cup brown sugar
  • ¾ cup sugar
  • 3 Tablespoons milk
  • 1½ teaspoons vanilla
  • 1½ cups flour
  • 1 cup chocolate chips

Directions

1. First, make the brownies. Preheat oven to 325° F (160°C). Line a glass baking dish with aluminum foil, leaving some overlapping the sides so that you can remove them later, and butter the foil.

2. In a double boiler, melt the chocolate until it is smooth. Set aside to cool slightly. In the bowl of your mixer, cream the butter and brown sugar until light and fluffy. Beat in the eggs and vanilla, scraping the sides of the bowl as needed. Finally, mix in the melted chocolate.

3. Turn your speed down to low and mix in the flour until just combined. Spread the batter into your prepared pan, then bake for 25-35 minutes, until a toothpick comes out clean. Remove the brownies from the oven and set aside to cool COMPLETELY.

4. Once the brownies are completely cool, make the cookie dough top. In the bowl of your mixer, beat the butter and both types of sugar until light and fluffy. Add in the milk and vanilla, followed by the flour, and mix until just combined. Add in the chocolate chips and mix into the dough by hand.

5. Spread the cookie dough over the brownies with a spatula, creating an even layer. Gently press it down into the brownies so that the layers bond together. Cover and place in the fridge to set for at least an hour. Once set, slice and serve with plenty of milk!

Macarons

Macarons

I’ve been wanting to try to make macarons for awhile but for some reason never rose to the challenge. So this weekend, I decided to finally give them a go, and they are honestly one of the most frustrating and difficult bakes you could do.

If the oven isn’t at just the right temperature, they won’t get their signature ‘foot’. If you don’t let them sit long enough to form their skin, they will crack. If you overmix the batter, they go flat. If you leave them in the oven for just 3 seconds too long, they turn brown. They’re affected by humidity and the ambient temperature of the room. Long story short, I made about 8 batches in total of these and only about half were actually useable. So if you want to give macarons a go, be sure you do it on a day when you don’t mind experimenting to find what temperature and things work best for you. Just don’t give up!!

Ingredients

  • 3 egg whites, room temperature
  • 3 Tablespoons sugar
  • 110 grams ground almonds, sifted
  • 175 grams icing sugar
  • 1 Tablespoon meringue powder
  • food coloring

Directions

1. Weigh out your ground almonds and icing sugar AFTER sifting, to make sure you don’t get any large granules into your mixture. You want to have the finest mixture you possibly can.  After weighing the two out, stick them in a food processer and give them a quick whiz to combine, creating a superfine powder. Set aside until you’re ready to mix.

2. In the bowl of your mixer fitted with the whisk attachment, place your egg whites and meringue powder. Whisk the eggs on high until they grow in volume and form soft peaks. At this stage, gradually add in your sugar while the mixer is still running. Just before the meringue reaches stiff peaks, add in your food coloring so that it gets mixed in evenly. You want to add a really concentrated, bright color as the color will fade when baking. It is crucial that you don’t overmix them.

3. Remove your bowl from the mixer; add in your ground almond and icing sugar mixture by sifting over the meringue, then gently folding it in with a spatula. Again, be careful not to overmix! Once all the dry ingredients are incorporated, press your mixture onto the side of the bowl to help reduce the volume a bit – but you don’t want it to go too runny, you should still be able to see a ‘ribbon’ sitting on top of your batter if you lift the spatula and drip some of the batter back into the bowl.

4. Transfer your batter to a large piping bag fitted with a plain 1/2-inch tip attached. Pipe your batter into 1 1/2- to 2- inch diameter circles on baking sheets lined with baking paper. You can freehand them or trace circles onto the underside of the paper so that you can have a guide to follow. Once all of your batter is piped, gently tap the trays on the countertop to help the macarons settle and remove air bubbles.

5. Let the macarons sit out to form a skin for at leas 30 minutes (I had to leave mine longer). Basically, the skin should be shiny and if you gently touch the top of a macaron, it shouldn’t feel sticky or come away on your finger.

6. Once the macarons have formed their skin, preheat your oven to 230°F (140°C). Place your macarons in to bake and set the timer for 10 minutes. Once they have formed their ‘feet’, turn the oven down slightly and bake for a further 8-10 minutes. This is where I had the most trouble, because I have a fan-assisted oven. The key is to sit there and watch them until you figure out the best temperatures and times for your macarons. Some of you may not need to reduce the temperature, others will. Just watch them so they don’t burn, because they will turn very quickly!

7. Once they’re finished baking, remove your macarons from the oven. Slide the baking paper off of your trays and allow the macarons to cool on your countertop. Once they’re cool, fill however you’d like – I used a standard buttercream that I flavored with strawberry jam for one batch, and a blueberry lime curd for the other. Just try experimenting with the flavors! These are best served fresh, so if you aren’t serving immediately, then wait on filling them so they don’t go soggy!

Orange Vanilla Monkey Bread

MonkeyBread2

Last week was my birthday, and Ben took me out for a day in London followed by dinner and drinks at a retro bowling alley with friends. Along with lots of cards from friends and family, I also received a surprise birthday package from my Aunt containing this:

Monkey


HOW ADORABLE IS HE?!?!?! I literally could not stop playing with him for at least an hour, posing him around the house to find a perfect spot for him to perch before finally deciding to put him in our pie dish (next to my bagels to take to work for lunch) so that he can watch as we cook. I don’t know what I love more about him, his little hat and slippers, or the fact he’s clutching a wooden spoon. Either way, he was a fantastic gift!

In honor of our newest houseguest, I decided to make an old family favorite: monkey bread. Except when I was looking for a recipe, I came across one from The Pioneer Woman, who I swear has some of the best recipes for everything. Given that I’ve used a lot of her recipes for dinners, I knew I couldn’t go wrong with her twist on sharing favorite: orange and vanilla.

I added my own little touch by making a quick cream cheese glaze to to drizzle over the top. Normally you make monkey bread with pre-packaged biscuit dough, but you can’t get that here in the UK; so I made up a quick basic dough to chop up and use instead and it was just as tasty.

This bread is great for a brunch, as you can put it in the center of the table and let everyone pick away at all the little bits. Just be sure to have plenty of napkins on hand for sticky fingers!

Ingredients

For the bread:

  • 3 tubes refrigerated biscuit dough
  • 1 cup sugar
  • 2 oranges, zested
  • a pinch of salt
  • 1 cup (230 grams) salted butter
  • 3/4 cup brown sugar
  • 1 Tablespoon vanilla
For the cream cheese glaze:
  • 1 8-ounce package cream cheese, softened
  • 3 Tablespoons icing sugar
  • milk, if needed

MonkeyBread

Directions

1. Preheat oven to 350° F (approx 175°C).

2. First, chop up all of your biscuit dough into small, bite-sized pieces. In a large zip-top bag, mix the sugar, salt, and orange zest; once they’re all mixed together, add in your biscuit dough pieces, seal it up, and give it a good shake to coat everything. Dump all of the biscuit pieces into a bundt pan and set aside.

3. In a pan over medium heat, melt the butter. Stir in the brown sugar and vanilla, stirring until they’re all combined. Don’t let the sugar mixture start to boil though! Once they’re mixed, pour the goo on top of all your biscuit pieces in the pan. Give the pan a bit of a shake to help everything settle.

4. Place the pan in the oven and bake for about 25 minutes, until the tops of the biscuits start to turn a golden brown. Remove from the oven and allow to cool in the pan for 10 minutes. Do not let it rest any longer or it’ll stick in the pan!  After the 10 minutes, turn it out onto your serving plate.

5. While the bread is baking, beat the cream cheese in your mixer on a medium-high speed until it becomes super creamy. Gradually add in your icing sugar, and dilute with a bit of milk until you get a sort of runny consistency. Basically, you want it to be able to drip it onto the top of the cake and only drizzle down the sides a bit – so you shouldn’t need to add too much milk. Remember, your hot bread will cause it to melt and become even runnier!

6. After turning the bread out of your bundt pan, let it sit for about 5 minutes before drizzling on the cream cheese glaze.

The Elvis Cupcake

ElvisCupcakes

We had a couple of bananas sitting in our fruit bowl this weekend that were looking pret-ty ripe. They were leftover from Ben’s last week of marathon training, as he ran the London Marathon last weekend!  So instead of baking last week, I was standing on the sidelines, cheering on thousands of runners as we waited for Ben to pass. He did really well and finished in 4:09:32, not bad for a first marathon!

IMG_6177_2


Back to the bananas…Their depressingly faded yellow peels covered in brown freckles were just begging to be put out of their misery. Instead of tossing them, I decided to make an old favorite: Elvis cupcakes.

Why Elvis? Because apparently the man loved peanut butter and banana sandwiches. Only these cakes take it a step further with a chocolate buttercream frosting. You may now be wondering where the peanut butter is if it isn’t in the frosting and the answer is the best surprise of this cake: a creamy peanut butter center!

While the flavor combination sounds like a strange amalgamation, you’d be amazed at how good these cakes taste!

Ingredients

For the cupcakes (makes 9):

  • 1 cup + 2 Tablespoons flour (preferably cake flour, if you have it)
  • 1/2 teaspoon baking soda
  • 1/4 teaspoon baking powder
  • 1/4 teaspoon salt
  • 1 whole overly ripe banana
  • 2 Tablespoons buttermilk
  • 1/2 teaspoon vanilla
  • 1/4 cup (58 grams) butter, softened
  • 1/2 cup + 2 Tablespoons + 1 1/4 teaspoons sugar
  • 1 egg

For the peanut butter filling:

  • 1/3 cup creamy peanut butter
  • 1 Tablespoon butter, softened
  • 3 1/2 Tablespoons icing sugar

For the chocolate buttercream:

  • 1/2 cup (115 grams) butter, softened
  • 1 Tablespoon milk
  • 3 ounces semisweet chocolate
  • 1/2 teaspoon vanilla
  • 5/8 cup icing sugar

Directions

1. Preheat oven to 350° F (approx 175°C). Place cupcake liners into the pan.

2. In a medium bowl, sift together the flour, baking powder, baking soda, and salt. In a smaller bowl, mix the vanilla and buttermilk.

3. In the bowl of your mixer, cream together the butter and sugar until light and fluffy, then beat in the egg. Once everything is incorporated, mash in the banana and mix well.

4. Stir in the sifted dry ingredients, alternating each addition with the buttermilk mixture. Make sure everything is blended in and smooth before adding the next addition. Once the batter is completely mixed, fill your prepared cupcake pans – filling each cup about 2/3 full.

5. Bake the cakes for about 17 minutes, or until a cake tester comes out clean. Rotate the pans halfway through the baking time. Once they are ready, let them cool in the pan for about 10 minutes before transferring to a wire rack to cool completely.

6. To make the peanut butter filling, beat the peanut butter and butter together until creamy.  Sift the icing sugar into the bowl and beat until light and fluffy, about 2 minutes.  Cut a hole into the top of each cupcake and spoon the filling into the hole, or using a piping bag with a filling tip (my method of choice).

7. To make the chocolate buttercream, melt the chocolate in the top of a double boiler until no clumps remain, and it’s completely smooth. Remove from the heat and allow to cool while you prepare the rest (about 5 – 10 min).

8. In medium sized bowl, beat butter for 3 minutes, until very very creamy.  Add the milk and beat until smooth.  Add the cooled melted chocolate and beat well. Add vanilla and whip for 3 more minutes.  Gradually add the sugar and beat until it’s nice and airy, then fill a piping bag and pipe onto the cakes.