Sweet Tea and Lemonade Cake

IMG_4285_sm


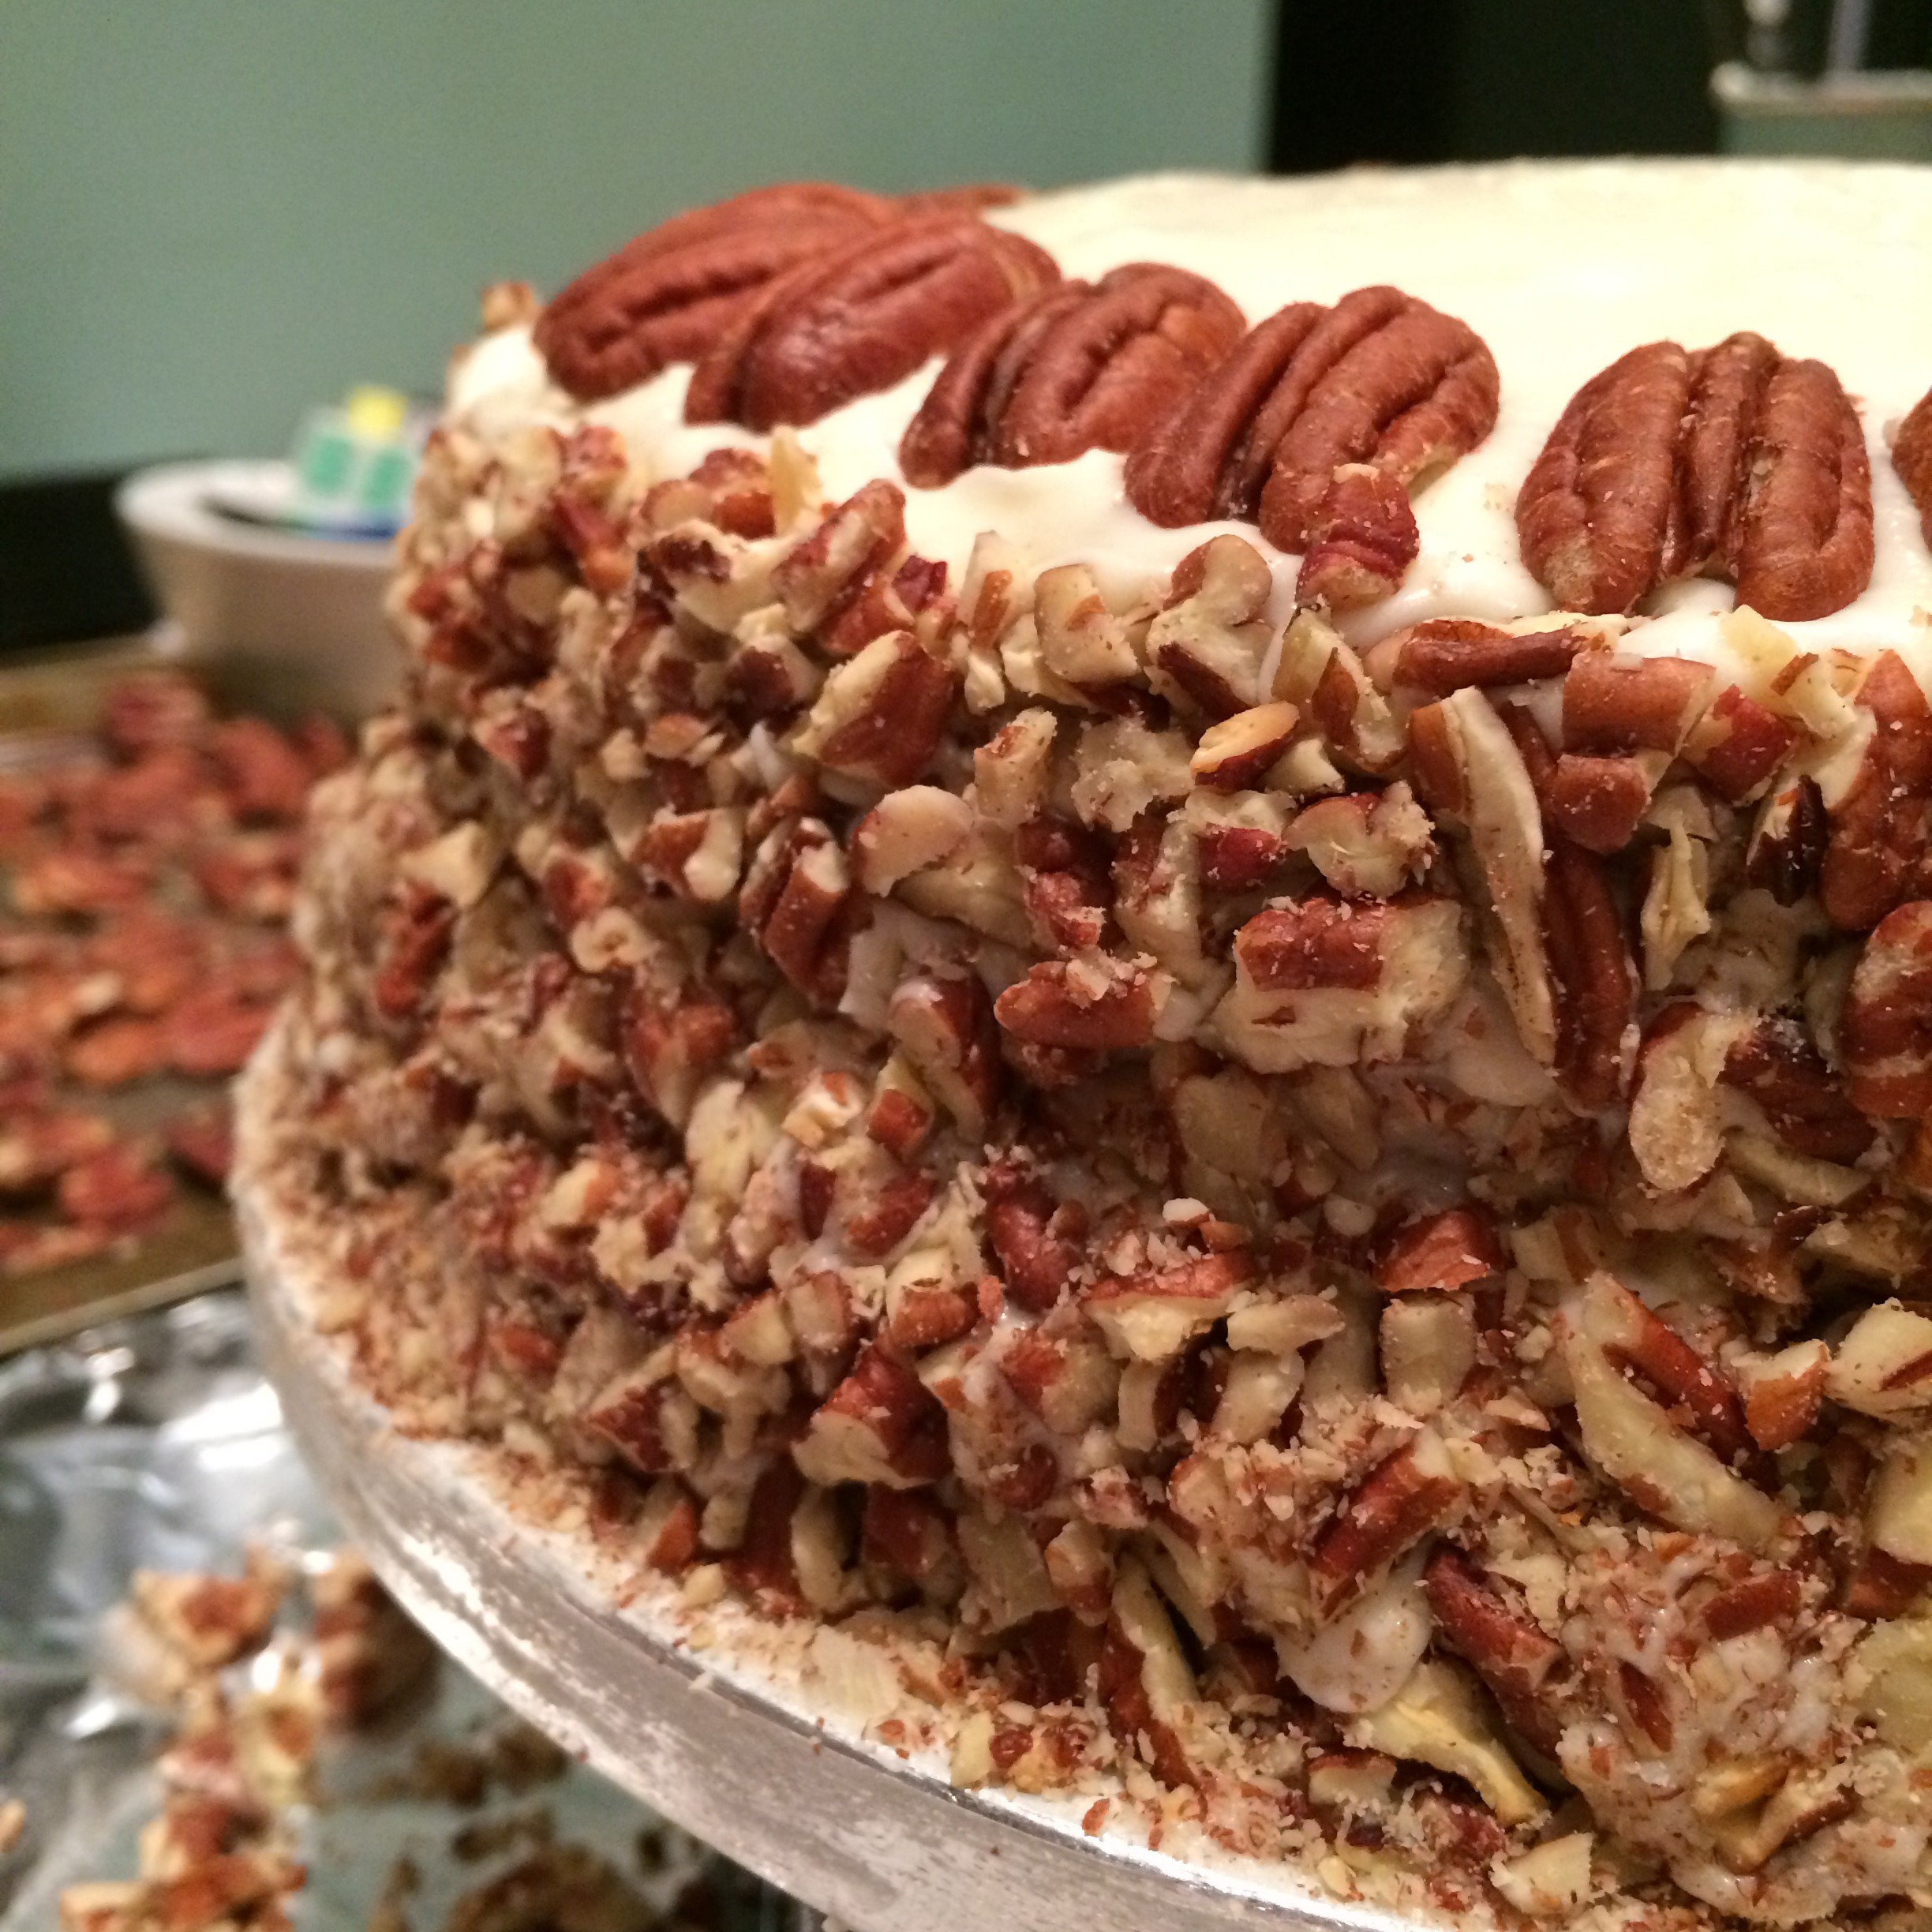
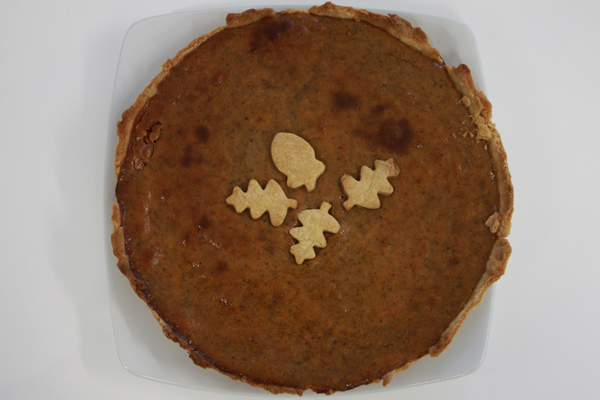
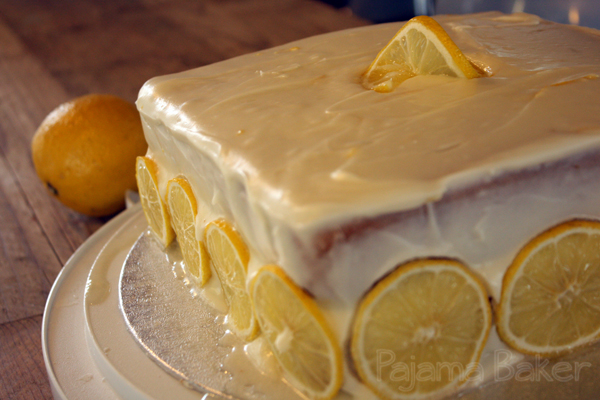
It has been incredibly warm this summer in London. And when you live in a house built in the 1930s that doesn’t have any air conditioning, it makes things heat up pretty quickly. It also makes icing cakes really difficult (as you can see from my terribly runny cake in the picture). But as hot as it gets outside and on the Tube, my office is an absolute icebox and I’m constantly cold – meaning I’m constantly wearing jackets and cardigans. While the Brits might give me awkward looks, it’s still pretty comfortable.

Growing up in Virginia, the summers easily got to be well over 90 or 100 degrees for days on end. Add the humidity to that, and you’re pretty much melting. The plus side? I’ve got a pretty high tolerance for summer heat. So I can get away with wearing a couple light layers while the rest of England starts stripping off as much as decently possible.

As promised, I’ve gotten into baking again, but the interesting bit is that I’m also on a very strict diet pre-wedding (skinny bride! skinny bride!) – so I can’t actually eat any of it. Thank goodness for work colleagues and a fiancé with a seemingly bottomless stomach!

This week’s bake comes from the latest issue of Southern Living magazine, and despite the melty frosting, it went down really well and was pretty simple!  Their recipe called to do it in a single-layer 13 x 9-inch pan, but I did mine in two 8-inch square pans and I think it just helped make it a bit more of a treat, but I’ve put the timings for both!


Ingredients

For the cake:

  • shortening (for greasing the pans)
  • 1 1/2 cups boiling water (about 1/4 litre)
  • 6 standard (or 3 family-size) teabags (I used English Breakfast)
  • 1 cup (226 grams) butter, softened
  • 2 cups (400 grams) sugar
  • 1/2 cup (85 grams) packed light brown sugar
  • 5 large eggs, room temperature
  • 3 1/2 cups (550 grams) flour
  • 2 teaspoons baking powder
  • 3/4 teaspoon salt
  • 1/4 teaspoon baking soda
For the frosting:
  • 1 (8-oz) package of cream cheese, softened
  • 1/4 cup (57.5 grams) butter, softened
  • 6 cups (about 500 grams) icing sugar
  • 1 Tablespoon fresh lemon zest
  • 3 Tablespoons fresh lemon juice

Directions

1. Preheat oven to 350° F (approx 175°C). Grease and flour your pans.

2. Pour your boiling water over the tea bags in a large glass bowl (or Pyrex jug) and let them steep for 10 minutes. After that time, remove the tea bags, squeezing the liquid out, and let the brewed tea cool for at least 20 minutes.

3. In your mixer, cream the butter and slowly add in the sugar until everything gets light and fluffy. Add your eggs 1 at a time, beating until just blended after each addition.

4. In a large bowl, mix together your flour, baking powder, salt, and baking soda. Alternate adding this mixture to your butter mixture with 1 cup of the cooled tea, making sure to begin and end with the flour mixture. Discard the remaining 1/2 cup of tea. Pour batter into your prepared pans, if using more than one pan, make sure you get them even!

5. If using a 13 x 9, bake for 35-40 minutes. If using 2 8-inch pans, I baked mine for 25 minutes, rotating the pans halfway through. Either way, your cake is done when your cake tester comes out clean and springs back a bit when you lightly touch it. If doing a layerd cake, remove from the oven and let cool in the pan for 10 minutes before turning out onto a wire rack to cool completely. If doing the 13 x 9, let the cake cool completely in the pan.

6. To make the frosting, beat the butter and cream cheese in your mixer until it starts to become creamy. Gradually add in your icing sugar, beating at low speed to help reduce giant messy sugar clouds. I find covering the mixer with a damp tea towel helps reduce it a bit. Once all your icing sugar is in, beat in the lemon zest and juice – then crank your mixer up to high and beat until the frosting is light and fluffy.

To decorate my cake, I used really thin lemon slices. However, they tended to leak some juice out – so you may want to set these out on a paper towel to dry out a bit so that there isn’t as much juice.

Advertisement

Life lately


IMG_6406

It’s hard to believe so many months have gone by without a single post to Pajama Baker.  At first, I had legitimate reasons – but then as time when by I had a hard time trying to find the words to explain myself and actually talk about what’s been happening.

As some of you will know, I went home to the States in the beginning of November for a visit home and to our Chicago office for work.  Shortly (literally only a couple of days) after my return to London, I received a call from my mother with the worst possible news: my grandmother was terminally ill and was approaching her final days.  About 3 days later, I found myself back on a plane across the Atlantic to attend her funeral. After seeing my family and saying our goodbyes, I’d thought I was alright, but really my grieving had just begun. Granny’s death, combined with a lot of stress at work and a few other figures, opened up a whole emotional Pandora’s box.

I tried baking a bit when I got back to London, but I found my heart wasn’t in it. Something felt like it was missing. And the few times I tried, I found myself focusing more on holding back tears rather than what I was actually making. It all boiled down to the fact that I missed my grandmother.

I had seen her about 2 weeks before she passed away and she was telling me how she was planning to visit me in London next year (2014), and how much she wanted me to make her chocolate chip cookies. Despite the fact she wasn’t feeling well, we laughed and joked around and promised to see each other soon.

In a lot of ways, Granny was my inspiration. She was one of my biggest supporters in both baking and my move overseas. I can remember to this day when I mentioned moving to London, she told me to go. She said that home wasn’t big enough for me anymore, that my opportunities would be greater and more exciting if I moved away. The fact that she was one of the biggest Anglophiles I know also probably played a role – all her stories of British kings and queens and traveling throughout Europe.

And when it came to baking, Granny was the only person whose dessert table would rival mine. Brownies, cookies, cakes – you name it, she made it. And she loved that I baked too – sending me random baking gear as a surprise treat or for my birthday. She shared this blog with her friends, and always asked what I was making next whenever we spoke on the phone.

Granny


Suddenly, baking hurt; my heart hurt. I was amazed at how a bit of butter, flour, and sugar could raise such an emotional response about someone I loved so dearly. So, in an attempt to make myself feel better, I boxed up my baking along with everything else I was feeling, hoping that everything would just go away.  But (as I should have known) it didn’t.

———-

Shortly after my return, on Ben’s birthday, we went out for dinner as a birthday tradition. Little did I know, I was about to receive another shock, only this time for the better. After dinner, Ben and I were walking by the Thames, when he dropped to one knee and proposed. Of course I said yes! I was ecstatic. I was excited. But mostly, I was happy to be spending the rest of my life with the man I love.  After the proposal, things were a whirlwind: calling my parents, telling my friends, then Christmas! We went home for Christmas together and the whirlwind only grew greater – planning, visiting venues, meetings, holidays. There was no time for grief, and I was glad. I thought it had all gone away. Something else had come to take its place and fill that empty space in my heart.

IMG_6877

After a few weeks of emotional newly-engaged bliss, Ben and I returned to London (yeah, three trips home and back in 2 months for me…), but the euphoria faded and I still felt like something was missing. Someone was missing.

I couldn’t just box up my emotions and move on. With them, I had boxed up a part of me because I was afraid of how I’d feel. So I didn’t bake. I just tried to get back to normal and move on. Afterall, I had a wedding to plan!

But like I said, instead of grieving, I had boxed things up. And for awhile, I was okay with that. I kept telling myself that I’d bake again next week, only to find myself making excuses and catching up on that one tv show I missed during the week.

———-

Photo Jun 14, 22 42 30Photo Mar 23, 19 32 56

Fast forward a few months and I found myself starting to dabble again. I dusted off my apron and every now and then I found myself starting to bake. While the spark and excitement hasn’t returned, it’s started to hurt a lot less. That bit of me that I boxed up with the grieving of my grandmother soon became my therapy. Instead of hiding from the emotions of it – I let myself think about them, think about her. I used the time in my kitchen as a way to connect with her and the memories of her, and enjoy those memories. I just needed some time to sort myself out.

So now, slowly but surely, I’m getting back into it.  It just takes time. I’m still waiting on my inspiration and drive to come back; but for now I’ve been resulting to the old classics, namely the chocolate chip cookies that Granny loved so much.

Leigh Skaggs Photography

(photo by Leigh Skaggs Photography)

So, nearly 8 months later, things are just starting to feel normal again. While I definitely still miss Granny, things are feeling much better. Thankfully, I’ve had someone as loving and caring as Ben with me to help me through. He and I are in the midst of international wedding planning, and will be tying the knot in Virginia this October. I’m hoping to start baking somewhat regularly again, despite my wedding diet and I’m looking forward to sharing it, as well as Ben’s and my new life together, with everyone who just happens to find my little corner of the internet.

Thanks for sticking with me,
Ashley (AKA, The Pajama Baker)

Boston, World Champs!

Boston_1

Boston_3


So I made it home to Virginia in one piece, albeit slightly jet-lagged and extremely spacey. It’s been great to be home to see everyone.

I have a bit of a last minute and unexpected bake – my mom decided to throw a cookout (a barbecue, as the Brits call it) and have the whole family over so I could see everyone in one visit. The Boston Red Sox have just won the world series, so my mom wanted to have a Boston-themed get together.

My grandfather is the BIGGEST Red Sox fan you will ever meet. He’s loved them since he was a kid and has stuck by them through all the painful years of never quite making it to the World Series. He even has an entire room in his house dedicated to photos and memorabilia, a lot of it actually signed by different members of the team from over the years!

As my contribution towards our dual celebration (the Red Sox and my arrival), I did another batch of quick sugar cookies, but this time I decided to use royal icing to pipe the Boston emblem, some red socks, and (more topically) a few bearded baseballs  – as a token of luck, the entire team had grown beards.

Boston_2


Grandpa loved these cookies, and wouldn’t let anyone eat them at first! His only regret was us not telling him it was going to be a Boston-themed party so he could have worn the appropriate attire.

It’s been great being home, and I’m looking forward to a few days of relaxing and catching up with everyone. Hopefully this trip will really help me recharge and get ready to jump straight back in once I get back to London.

See you soon, bakers.

Halloween Cookies

HalloweenCookies

HalloweenCookies2


Happy Halloween bakers! As many of you may know – Halloween is my absolute favorite holiday and every October since I’ve moved to London, I feel a bit empty inside. The Brits don’t really celebrate Halloween the way the Americans do, so I find myself absolutely jealous at everyone’s amazing costumes and terrifying festivities. Last night I decided to do a bit of late-night baking and rushed home from work to make some sugar cookies.  Ben and I worked late into the night to decorate these ghoulish treats for my colleagues at the office. I reverted back to my old recipe of icing sugar + milk + coloring for the icing and painted it on with a brush.

In other news, I’m heading back across the Atlantic tomorrow to visit my family for a bit before heading over to Chicago to work from our company’s other office for a week. I’ll be back in a couple of weeks!


Pumpkin Pie

PumpkinPie_3

I think I’ve finally settled into my new flat – it’s only been 2 months! Baking has proven to be a challenge, as the oven cooks a bit unevenly. I was so looking forward to this pumpkin pie until it caught a little bit and the wonderful even color on top got marred by a few dark spots. Oh well, still tasted delicious.

Pumpkin pie is a very American dessert it seems. Most people in our London office had never had it before, so I had to show them what they were missing!!

Ramping back up into baking regularly again since we’ve moved has been a bit of a test of willpower. I’ve recently joined a gym again and have been trying to be good about snacking – something that is incredibly difficult when you’re a baker! But I’ve been good and I’ve stuck to only sampling the tiniest of slivers. At least this time!

This pie is incredible, and tastes wonderful served with a dollop of whipped cream!

Ingredients

  • 1 batch sweet shortcrust pastry (I added a tiny bit of cinnamon to my pastry this time as well)
  • 3/4 cup sugar
  • 1 teaspoon cinnamon
  • 1/2 teaspoon salt
  • 1/2 teaspoon ginger
  • 1/4 teaspoon ground cloves
  • 2 eggs
  • 1 15-ounce can of pumpkin puree
  • 1 12-ounce can of evaporated milk

Pumpkin-Pie

Directions

1. Preheat oven to 350° F (approx 175°C). Roll and place your pastry into the pie dish. Gently prick the bottom with a fork (don’t go all of the way through though!), line with baking paper, then fill with your ceramic baking beans. Blind bake your pastry for 10-15 minutes, then set aside to cool. Once cool, remove the baking beans by lifting out the baking paper.

2. In a large bowl, mix together all of your sugar, spices, and eggs. Then add in the pumpkin. Once everything is combined, stir in your evaporated milk.

3. Place the pie in the oven to bake for 40-50 minutes. Keep an eye on it to make sure it bakes evenly. Test it with a cake tester to ensure it’s cooked all the way through. If you’d like to add a pastry garnish like the ones I’ve done, add the pastry cutouts about 10-15 minutes before the pie is finished baking so that you don’t burn them.

4. Once your pie is ready, let it cool completely, then serve with whipped cream!

PumpkinPie_2